
The Benefits of Taking Time for Yourself
Self-care is more than a trend — it’s essential. Here’s why.
Read more →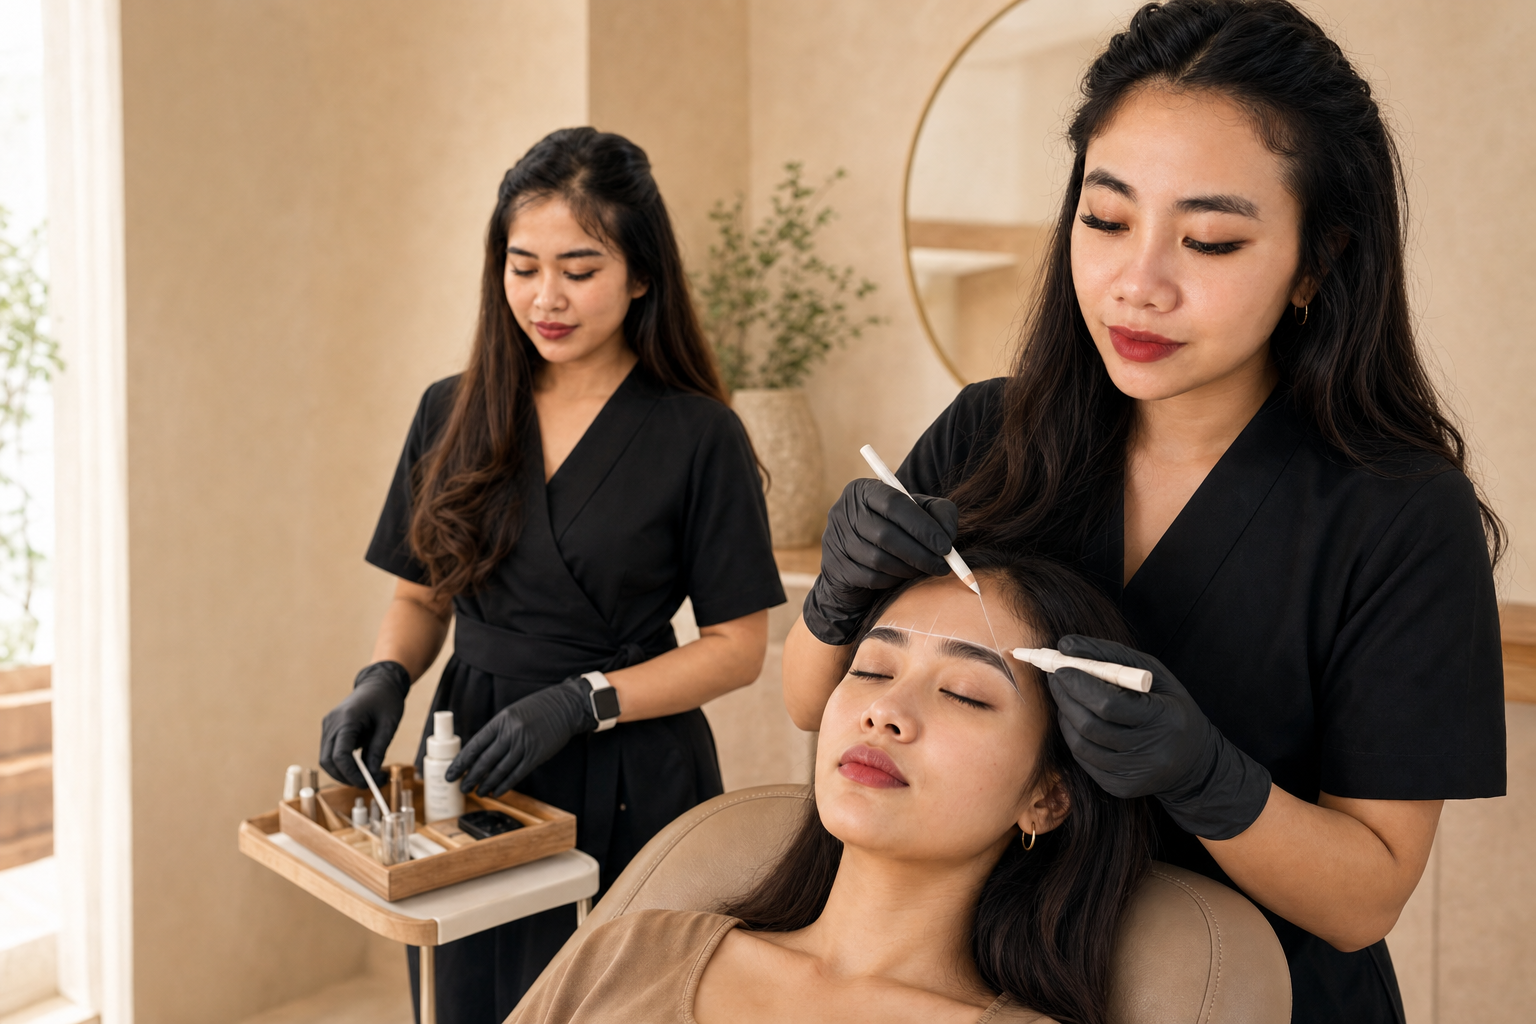
A first Brow Lamination appointment follows four simple steps — consultation, patch check, lamination, and styling — and is more straightforward than most first-timers expect. Knowing the order of events, and what your brows will look like at each stage, makes the whole experience much more relaxing. Here’s exactly what happens from booking to walking out the door.
As with any lifting or perming treatment, we recommend a patch test at least 24–48 hours before your first Brow Lamination appointment, especially if you have sensitive skin or haven’t had a lamination-style treatment before. It’s a quick, small test applied to a discreet patch of skin, and it’s worth building into your schedule if this is your first time — mention it when you message us on WhatsApp to arrange.
1. Cleansing. Your brows are cleansed thoroughly to remove any oil, makeup or product, since the lifting solution needs clean hair to work properly.
2. Brushing and mapping. Your therapist brushes your brow hairs upward and maps out the shape that will suit your natural brow best, before any product is applied.
3. The lifting solution. A lifting lotion is applied to soften the hair structure, allowing it to be reshaped into the new, more upright position.
4. Setting into shape. Once softened, the brow hairs are brushed and set into the desired shape, then a setting solution locks that shape in place.
5. Tint, if you’d like one. Some clients add a brow tint at this stage for extra definition — this is optional and discussed with you beforehand.
6. Nourishing finish. A nourishing oil or serum is massaged in at the end to condition the brow hairs after the treatment.
A full Brow Lamination appointment is a relaxed, seated treatment — most clients simply lie back and let the process happen in stages, with time added on if you choose to add a tint.
The biggest surprise for first-timers isn’t the treatment itself — it’s how immediate the result is. Brows go from your everyday shape to fully lifted and defined in a single appointment.
Every appointment begins with a short conversation about the shape you want. Some clients want a bold, brushed-up "brow lamination" look with visible texture; others prefer something softer that simply tames unruly hairs and fills in gaps. Bringing a reference photo is genuinely useful here — it gives your therapist a clear target rather than a vague description, and it means you both agree on the result before any product touches your brows.
Brow Lamination works especially well for clients with fuller, naturally unruly brow hair that’s difficult to keep in place with gel alone, as well as anyone with sparse patches they’d like to visually fill by brushing hair across the gap. It’s a good match whether your natural brows are already fairly full or on the finer side — the lifted, brushed-up shape reads as more defined either way.
Similar to a Lash Lift, it’s best to keep your brows dry and free of makeup or oil-based products for the first 24 hours, so the lifted shape has time to fully set. After that window, your normal skincare and makeup routine can resume as usual — see our first-week aftercare guide for the full routine.
Brow Lamination generally holds its shape for several weeks, gradually softening as brow hairs go through their natural growth cycle — similar in principle to how a Lash Lift fades. If you’re after a complete, low-maintenance look, a Lash Lift and Brow Lamination can be booked together on the same visit.
If it’s your first time in the chair, our therapists Dinda and Risma will walk you through the shape and finish you want before starting, so there are no surprises by the time you see the result in the mirror.
Brow Lamination pairs naturally with a Lash Lift for clients who want one relaxed appointment covering both lashes and brows — ask your therapist about combining the two when you book.
Save this guide for later, then let us take care of the details in Seseh.
Self-care is more than a trend — it’s essential. Here’s why.
Read more →
Nourish your lashes from the root with these lash-loving ingredients.
Read more →
A general guide to Bali’s dry and wetter seasons, crowds and weekday vs weekend timing, and why Seseh and Cemagi stay calm whatever time of year you visit.
Read more →